Friday, May 26, 2006

V. Sepulveda's Latest Tattoo


    This is a Tattoo that I have been working on for the last three years; It's a whole back piece and it goes up to the shoulders.
    I don't get to do a lot of tattoos because a lot of people don't even know I do them, when I do tattoos I want to do collages of my own original Artwork.
    I started doing tattoos about eight years ago, and this is my latest one. It was done last week, the bottom part, that is, with the skull made out of smoke. I did the section on this first top photo last year.


Victor Sepulveda hard at work.

Close up of Sepulveda's Tattoo
Now we just gotta wait till it heals so it matches the rest.

Thursday, May 25, 2006

VictorSepulveda in DUB Magazine.

      I just found out today I came out on DUB Magazine's issue for May 2006, The photo was taken when I was doing a live painting last February at the DUB Magazine Concert & Car Show along with four Artists from Crewest. Check it out, there I am on the top right corner.

      Sepulveda Illustration & Design.
        Victor Sepulveda

Sunday, May 14, 2006

Victor Sepulveda's Trip to Mexico.

      Here are a few more photos of my trip to Mexico last year. 
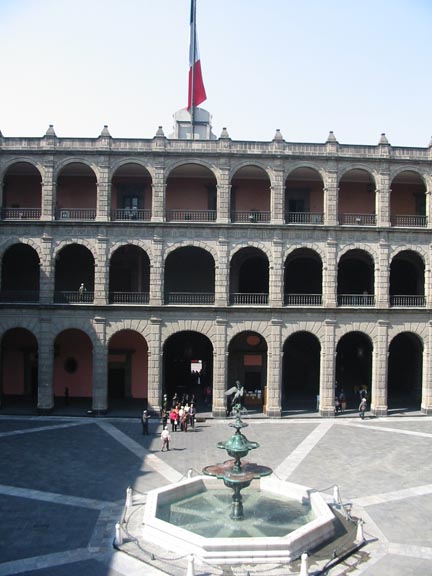
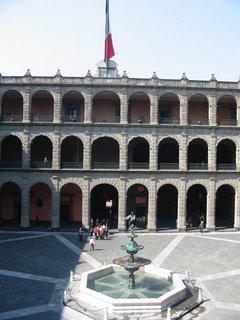
I visited about 40 different cities in a period of four months, all of the photos on this post were taken in November and December 2005.
      The first picture is inside the Palacio Nacional en el Zocalo, inside there are about twenty beautiful murals by Diego Rivera depicting Mexico as it was before the Spanish Conquest as well as a pictorial history of life before, during and after the conquest. From there we visited the section of the Palace where Benito Juarez used to live, they still have the furniture exactly how it used to look in 1872.

Danzantes Aztecas en el Zocalo, con su vestimenta completa, y en el fondo la Cathedral.


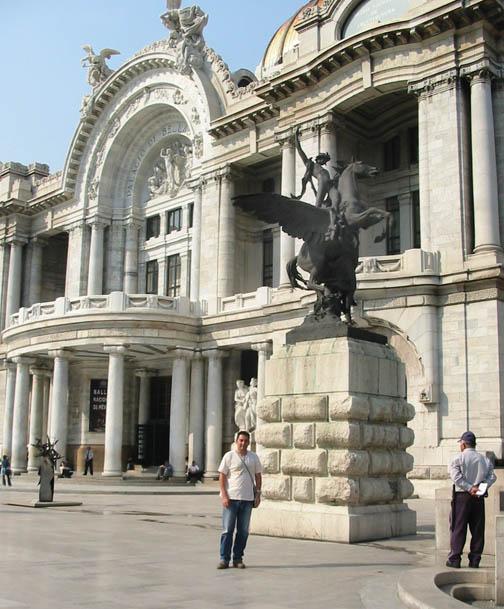
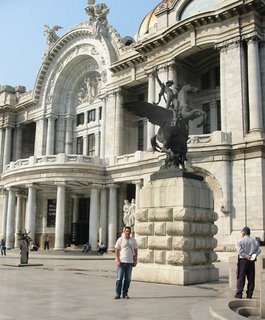
      Thats me in the center of the picture in front of the Palacio de Bellas Artes in Mexico city; Inside there are murals by Diego Rivera, David Alfaro Siqueiros and Jorge Gonzalez Camarena as well as other Artists, this was one of the most beautiful buildings I saw, I could have spent hours just looking at all the Artwork.


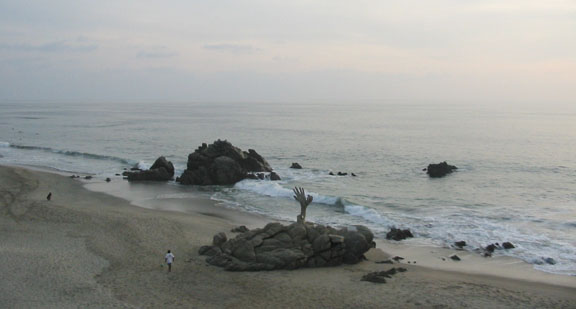
Puerto Escondido, Oaxaca; Known for its great waves by surfers everywhere. I took a thirteen hour Bus ride from Texcoco with my Cousin, who was working as a Teacher at the Universidad del Mar. Here we met a lot of people, and none of the were Mexican! This was Early November 2005.


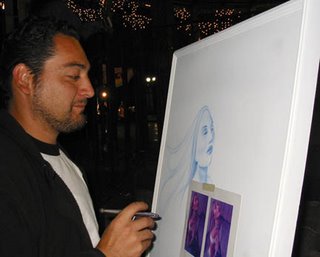
      Victor Sepulveda doing a live demo in Coyoacan; every sunday you can find many artists painting here and interacting with the public there are lots of booths selling souvenirs and crafts also.


      This Picture was taken in the City of Huexotla in a building next to the main Church there. The city is located a short distance from Texcoco, Mexico; around this same time I went to Coyoacan to paint live at the plaza on sunday.


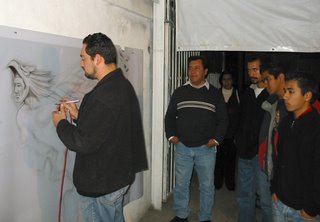
Here I am doing a live demo for the students in Saltillo, Coahuila where I was hired to teach a course on Airbrushing this was at the end of November 2005 I stayed there for one week.
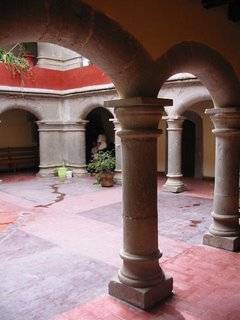
Downtown Saltillo
One of the few pictures I took when I went to Acapulco, Mexico (around December 17)...
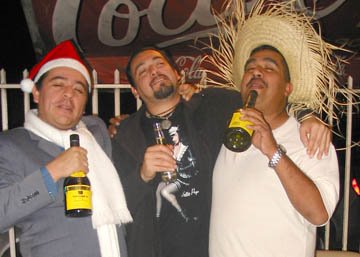
all I remember is a Blur... but I'm pretty sure we had fun!

Good ol' Mexican Christmas celebration with my cousins Hugo y Julio;
Hey, not everything I did was work down there! "Salu'"

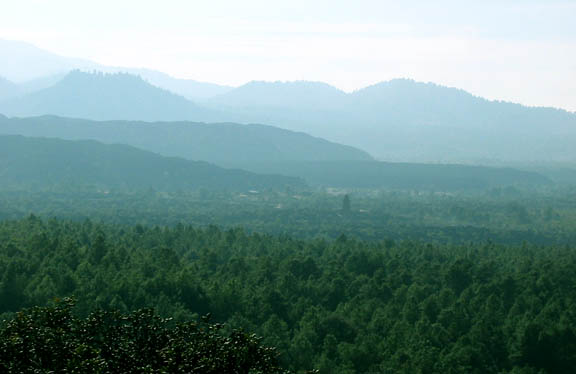
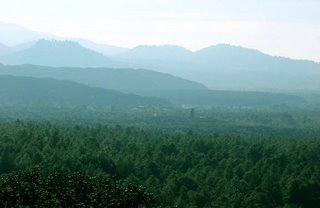
Eventhough you can barely see it, in the center of the photo are the ruins of Old San Juan Parangaricutiro, that the Paricutin Volcano destroyed.
Here it is, Volcan Paricutin en el fondo
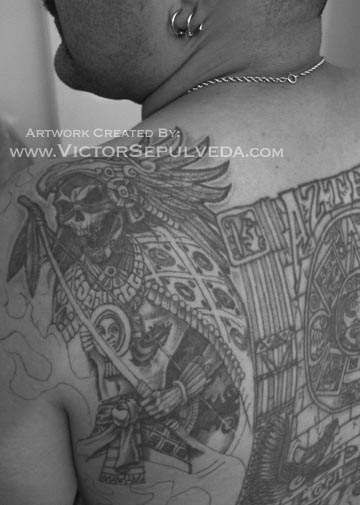
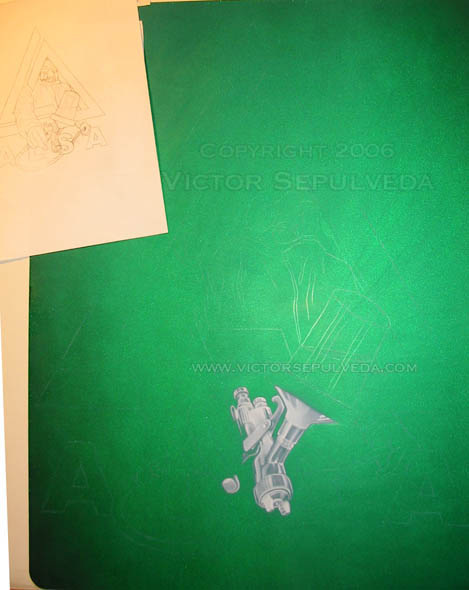
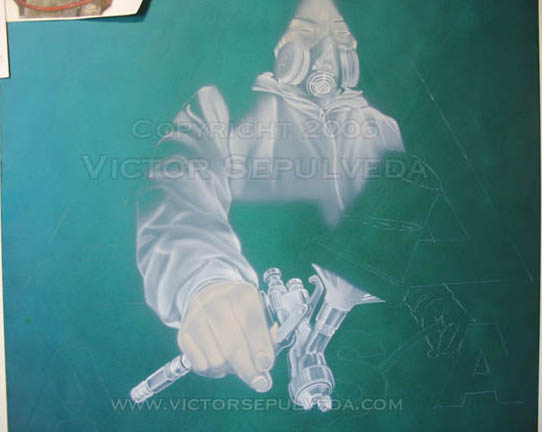
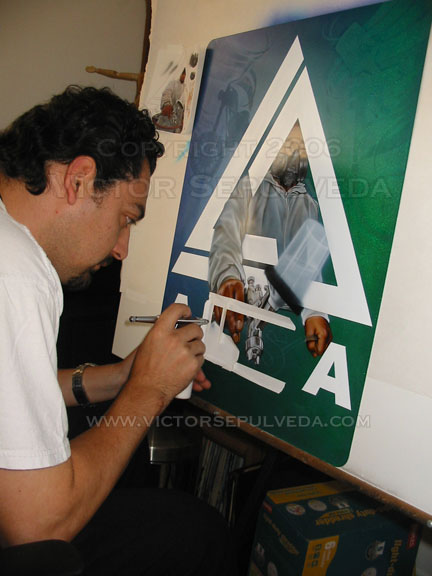
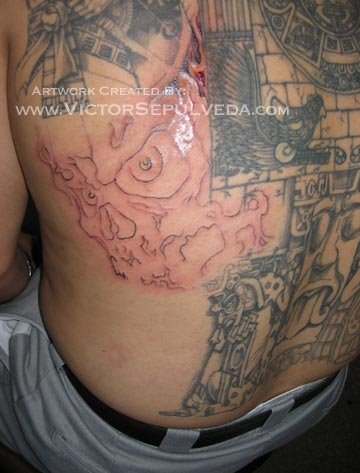
Thursday, May 11, 2006

TopTenLies told to Naive Artists and Designers.

I've had this link on my favorites list for about two years now, and I always show it to my friends when they call me to tell me about a shady deal they are putting up with one of their jobs; they usually think it won't happen again, or they don't think it would happen to anyone else... but I always say... been there, done that, and from knowing a lot of Artists and Designers myself, I know it happens to a lot of us. Read and Learn, don't get taken advantage of.

Top Ten Lies Told to Naive Artists and Graphic Designers

I don't know who the author is, but since the first time I read it I felt it was written for me... and it has helped me deal with my own clients and how to try to avoid getting ripped off.
If you are an Artist or Graphic Designer... how many of these have you heard in your career?

Monday, May 08, 2006

Sepulveda ALSA Logo.

      I recently started using ALSA Corp. paints and thought I would do my version of their logo using nothing but their paints; I was invited to participate on the company's first Pinstripe & Car Show this May 21st 2006 doing a Live Airbrushing Demo. If you are interested in going check out their website for a map of the location:ALSA Corp.com

      This is a step by step process of my technique with Automotive Airbrushing, the painting is done on an 18" x 24" piece of sheet metal that was prepared at their spray booth; they painted it with a Blue Emerald color that changes depending on the angle you are viewing it from blue to green, then they sprayed a coat of urethane clear so it would be ready for me to Airbrush.
      First I sanded the piece with a 1200 grit sandpaper which is very fine, this is only to scuff the surface and allow adherence from the paints that have been prepared to be used with the Airbrush.

      ↖ Next I project the image I had previously sketched on a piece of paper onto the sheet metal; Using a light colored pencil I draw the image. Once the drawing is visible I proceed to paint; In this case the background color is dark so I begin by laying the foundation using a white basecolor and using the background as the shadows and dark areas of the image. It's hard to see on the photo, but for the spray gun I used a color called "Mirra Chrome" which is like a metallic silver with a very fine pigment so you could do fine detail; I used it to make it stand out from the white basecolor.

      ➚ Here you can see I'm almost done with the White foundation, I used a light tan color for the face and hand but I still let the background show through to represent the shadows and dark areas. Most of my work is done freehand, I like the soft edge look that you get by working like this but mainly I do it because I don't like cutting stencils, plus I change my mind constantly as I'm working on a painting so I wouldn't want to spend time on a stencil and then not use it, there's more freedom if you freehand all your work.


      On this next step you can see how I start detailing the image; I start shading from light to dark so I'm constantly changing colors and I always do a section at a time, for the skin color I use three different shades of brown plus orange or yellow depending on the skin color I'm trying to achieve. The white paint leaves more overspray than the black paint so I always try to finish the detail with black to cut the edges and give it a more clean and sharp look.


      I painted the guy holding the spraygun first trying to leave the area of the logo clean, but I didn't have to be too careful because the logo is in the foreground and it will be taped off but first I need to finish the image and the background effects.
      So far I like the paints, they have very good line and flow control; Also you can mix the colors on the bottle to make your own colors or tones. I am very picky when it comes to paints because I use very thin mixtures to get the smallest details and so far they are working really good; Over the years I have tried many different brands but I am hardly satisfied with the results.


      On this step I decided to do some graphics on the background so the design wouldn't look so simple, especially because the triangle of the logo left two big open spaces on the left and right of the design. I cut out a couple of stencils of a motorcycle and a spraygun and a couple of overlapping lines; I painted these using a turquoise blue very lightly so they wouldn't stand out too much.


      Now the image is starting to look finished, I am very pleased how the background graphics look finished. Here I am painting the logo and letters, first I taped off the triangle shape and I cut out each of the letters to spray them with white. It is a very simple step because there is no shading or detail but you have to cut out the letters, and make sure there are no gaps where the paint could overspray.


      I decided to do a complimentary outline using orange on the guy holding the spraygun, the purpose of this is to make it stand out a little more against the big white shape of the Logo and the blue/green background. Next I make sure the signature is visible, and do any finishing touches before I can say it is finished. I hope they like it at ALSA Corp. I had a lot of fun working on this piece.


      Now the Painting is finally finished. the only thing left is to shoot a clearcoat to bring out the vibrancy of the colors as well as the sparkles and pearls; And to give it that wet shiny look to be displayed. I'd like to hear any comments or questions about the piece. www.victorsepulveda.com